Another guide after so long? Of course! This one is
about how to set up both WebOne and Macstodon, a Mastodon
client for 68k Macintoshes with a 68020, 68030, or 68040
processor. This guide was created as more of a visual
representation as visual stuff is easier, right? This is
also more geared towards Windows and emulators as I do not
own an old Mac myself to try this (sorry if you think this
was for running it on an old Mac, but it may still work?).
Will I make a Linux version of this guide? Maybe.
Everything should work depending on whether it is macOS,
Linux, or Windows. The guide for WebOne on the WebOne repo
itself also felt too complicated to follow for new users so
this guides through that as well.
Macstodon is in active development so it doesn't support
most of what you would expect from a standard Mastodon
client right now like profiles, or boosting, or images. The
creator, smallsco, makes no promises or guarantees about
future development. It is just a hack project and they
might get frustrated or bored with it at some point (but
it's open source, so anyone can contribute or fork it!)
As for me, this may have been rushed so feel free to
message me on Mastodon or anywhere else for suggestions.
This guide is a bit long too so sorry for that ^^;;
This guide is relevant to version 0.3 of
Macstodon. It should work for the newer versions but I have
not tried, nor do I intend on updating this.
Prerequisites
Before doing anything you will need some files first
which are listed below:
WebOne: A HTTP 1.x proxy server
Macstodon: The Mastodon client for 68k
Macintoshes
MacSys761: The emulator
iCab: Test the proxy is working
Internet config: System 7 users configure every
little bit of their internet applications all in one
place
The other sections of this guide lists where to get
these files from however if want to get them now you can do
so. Now to get the prerequisites working
Macintosh System 7.6.1 App
Installing MacSys761
How does one run Macstodon without System 7? You need an
emulator if you are like me, the webmaster, who doesn’t own
a real Mac. You will also need to install the already set
up version of System 7.6.1 from here
The download speed may vary depending on your wifi speed
as the installer is 193 MB. Once downloaded, run the
installer. User Account Control will ask if you want this
app to make changes to the device. This is for installing
it so click yes.
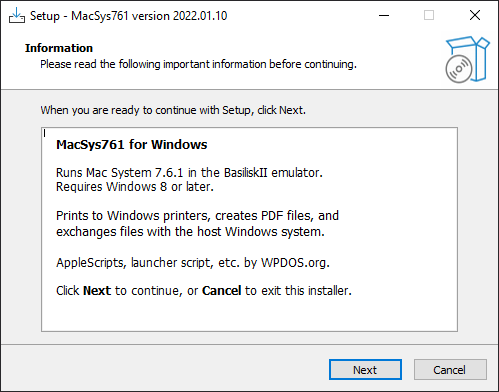
The installer will tell you some information as all
installers do.
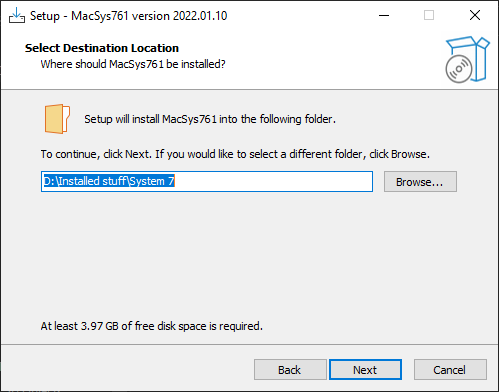
It will ask for an install location so pick whatever you
like to install it.
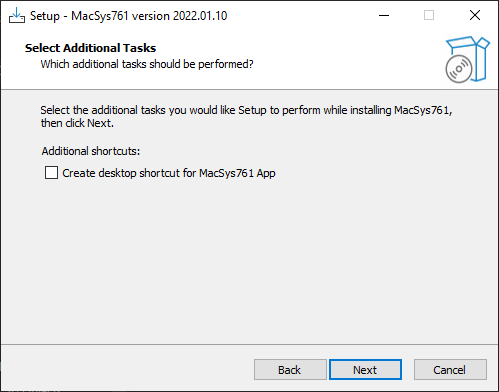
Next it asks if you wish to make a desktop shortcut, but
picking this option is up to you.
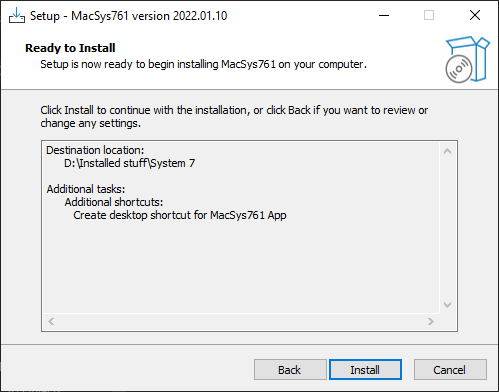
After that will say it is ready to install so proceed it
and it will install.
Running MacSys761
Once installed, you will need to check if it installed
correctly. Depending on whenever you made a desktop
shortcut you can run it from the shortcut. If not, go to
the destination where you installed it. The app will be
called “MacSys761”. Clicking on it should run the emulator.
The reason why I suggest using the already installed
version is that it saves a lot of trouble and hassle with
getting the internet to work, transferring programs, but
you can also print from the emulator to your real
printer!
Now that you have run it, you should get the Mac OS
start up screen then have the desktop all ready for you.
From here you can look around if you wish but for this
guide we won’t be doing that.
iCab
You will need to grab a copy iCab 2.9.9 from emaculation
forums
here . It will be a sit file which Windows cannot open
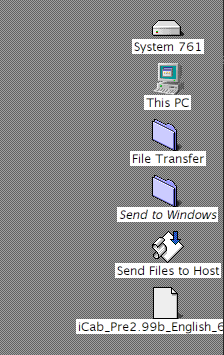
but the emulator can by dragging the sit file onto the icon
for the MacSys761 app. If the transfer to System 7 was done
correctly, you should get something like this:
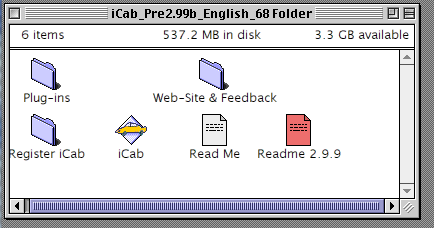
Click on the sit folder to extract it. It should create
a folder the same name as the sit file. From here you can
run iCab from the folder that was created. It’s going to
ask if you want to import bookmarks if you run iCab but we
do not need to as of now.
WebOne
To get iCab to access the internet you’ll need to
download WebOne from here .
WebOne is a HTTP 1.x proxy server that makes old web
browsers and media players usable again in the Web 2.0
world.
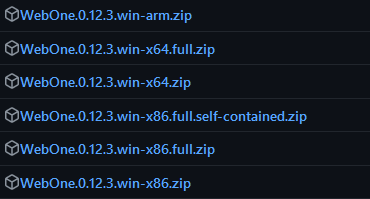
You’ll see there are many packages for different OSes.
For this guide we will go with the Windows version that is
64bit. I prefer to use the full version so the file would
be named “WebOne.0.12.3.win-x64.full.zip“. Once downloaded
it, extract it somewhere where you will remember it
is.
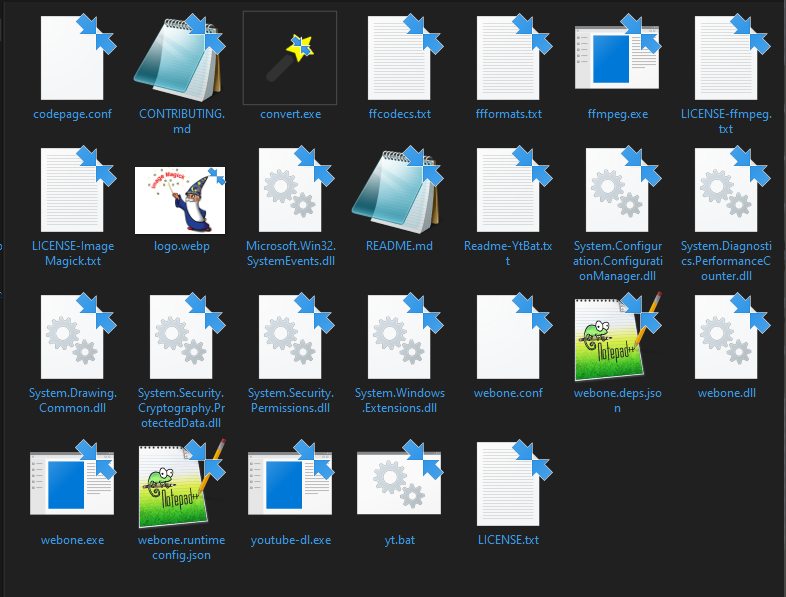
Contents of the extracted folder
Once extracted you should check out the contents of the
folder. You should have some json files, dlls and exes.
Webone.exe is the main executable we will use.
Running and Configuring WebOne
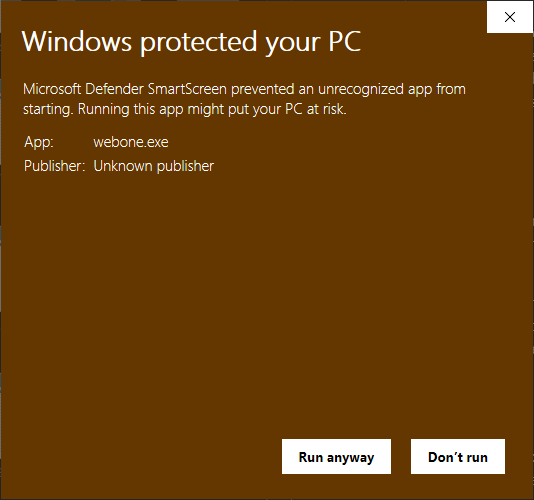
Next, you will need to set it up. How else can you use
it without getting it working? When you first run the
executable, Windows will give you a popup saying it
protected your PC because it prevented an unrecognised app
from running. This is just a false flag so click on more
info then click run anyway.
You should get a command window open that looks like
this. WebOne should be running from this point on however
you can close it until later as for Macstodon to use WebOne
properly, we need to make some changes to the config file
used for WebOne with something like notepad++.
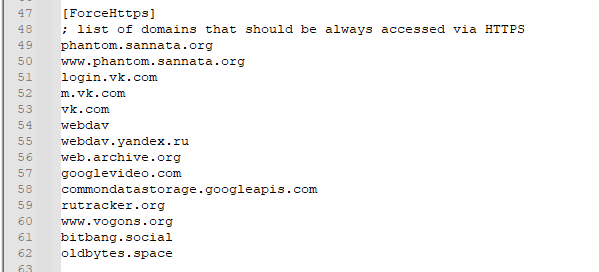
You may need to add your Mastodon server's hostname to
the forcehttps section of WebOne's config file depending on
how your Mastodon instance is configured as shown below.
The Mastodon intances I added are bitbang.social and
oldbytes.space.
You will also need to change the “user agent” to be
configured to something modern-looking. Below is a known
working example from the repo however you can find more
here
Mozilla/5.0 (Macintosh; Intel Mac OS X 10_15_7)
AppleWebKit/605.1.15 (KHTML, like Gecko) Version/16.2
Safari/605.1.15
But where do I put this in the config file?! Look for
something like this.
This is before you edit it. You will need to remove
“UserAgent=%Original% WebOne/%WOVer%” then put in the user
agent as mentioned after the Windows NT one so it should
show as this. If the image is too small, try opening it in
a seperate window.
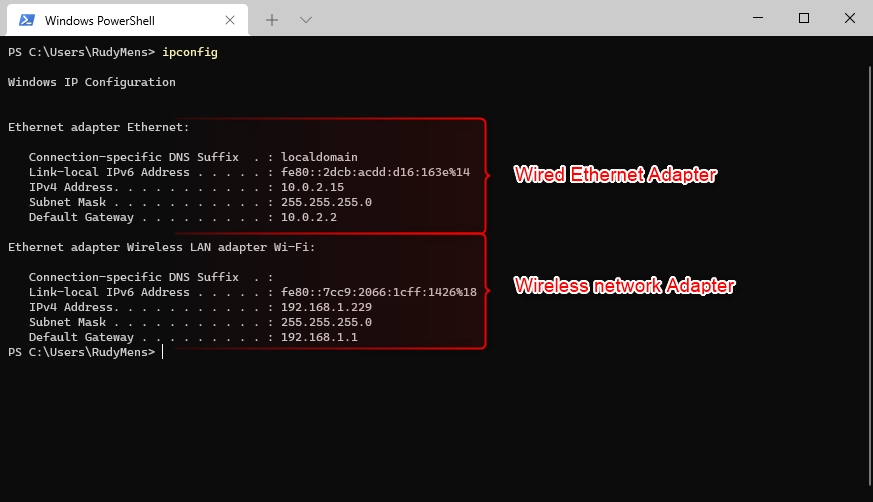
Last, you need to edit the host name. When you first
started up WebOne in the top bar it would have had your PC
name but this needs to be changed to your IPv4 address.
To find the IPv4 address open command prompt or
powershell, type ipconfig and look for it. The provided
image is merely an example but it shows how it should look
depending on if you use an adapter or
Ethernet.
Whatever one you use grab the IPv4 address and replace
%HostName% with the ip. Save your changes, run WebOne again
and your host name should no longer be your PC’s name but
instead the IP address.
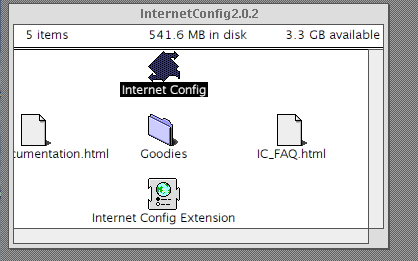
Internet Config
Internet Config is needed to add the WebOne proxy to
System 7 and to test the proxy is working on iCab. You can
grab a copy from
here .Once downloaded drag the sit file to your
MacSys761 shortcut or executable. Open that folder and you
should get these contents:
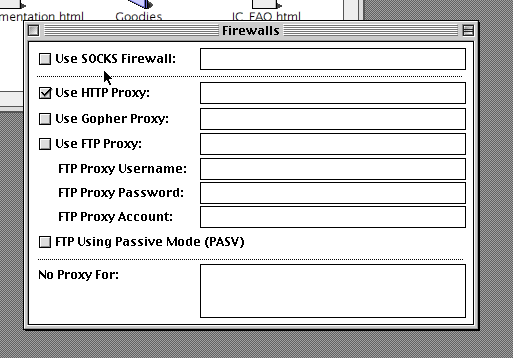
Open the Internet Config app, select firewalls, and you
should get a screen like this. Enable “Use HTTP Proxy” and
put in your IP along with the port you used for WebOne’s
proxy.
Run iCab in the emulator and try to load up google. You
should get something like this and this means it is
working.
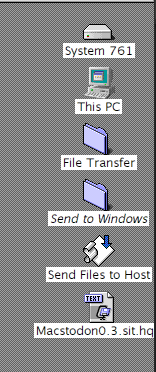
Macstodon
Getting Macstodon
From the github repo,
https://github.com/smallsco/macstodon/releases/, download
the latest version of Macstodon. It should have the file
extension “.sit.hqx”.
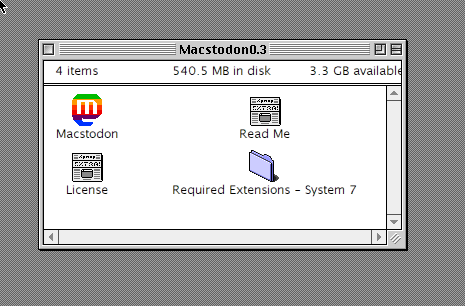
Getting Macstodon onto System 7 and
Configuration:
Once downloaded, drag the file onto the MacSys761 app
icon. Open the .sit.hqx and it should extract it to your
desktop in the emulator in a folder.
In the folder you should have the Macstodon app itself,
a read me file, a license file and another folder called
“Required Extensions - System 7”.
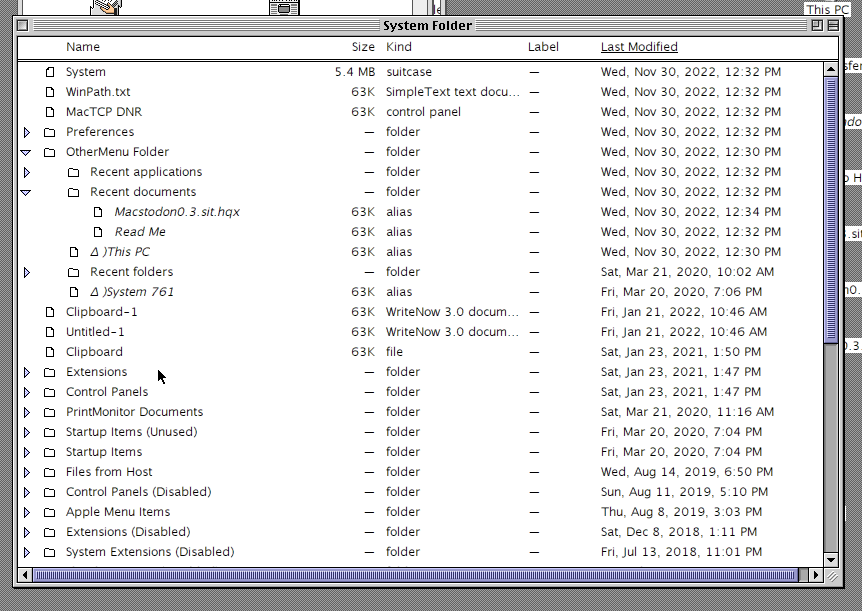
The contents of that folder should be transferred to the
Extensions folder which is a subdirectory of the System
Folder. The Extensions folder and System Folder are in the
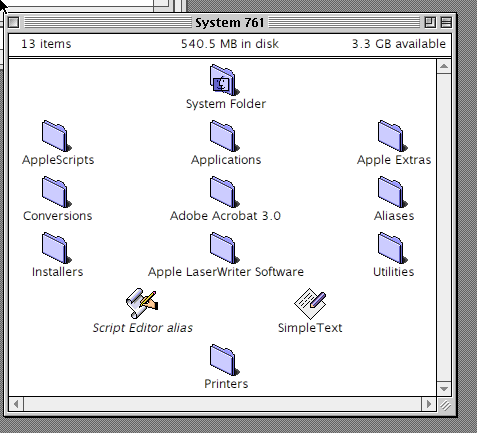
hard disk named “System 761”.
Drag the contents of the Required Extensions into the
Extensions folder. Since this is a pre-installed version of
System 7 you may get an error about files having the same
name. As a safety thing we will overwrite the existing
ones. Once completed, restart the emulator by going to the
apple logo, selecting restart or shut down, then restart
the machine.
Running Macstodon
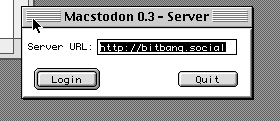
Next is running the app. Macstodon will ask for the
server URL. If you try to log in without WebOne you will
get some errors hence the changes done before were needed
to make things work. My account is on bitbang.social so I
type in https://bitbang.social without the https and slash
at the end, so it would be
http://bitbang.social.
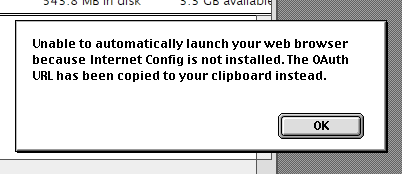
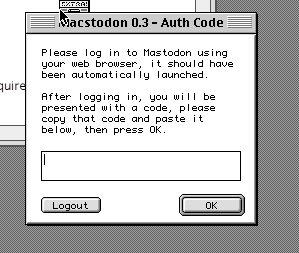
Click “login”. You may get an error saying Internet
Config is not installed
I ignore this since it copies the auth link to my
clipboard which should be pasted into your browser on your
real computer. Authorize your account then copy the code
into something like notepad as Is and ls look the same. You
can access the file in System 7 by going to the 'This PC'
folder on the desktop in System 7 and naviagting your way
to the C drive, then your desktop to where you should save
the notepad file with the AOuth key in Macstodon, then
ediitng it in Windows with the code. You'd need to close
the file and open it again in System 7 once you edit it as
live chnages do not show. Go back to the emulator, click OK
and now type in your code and click ok again.
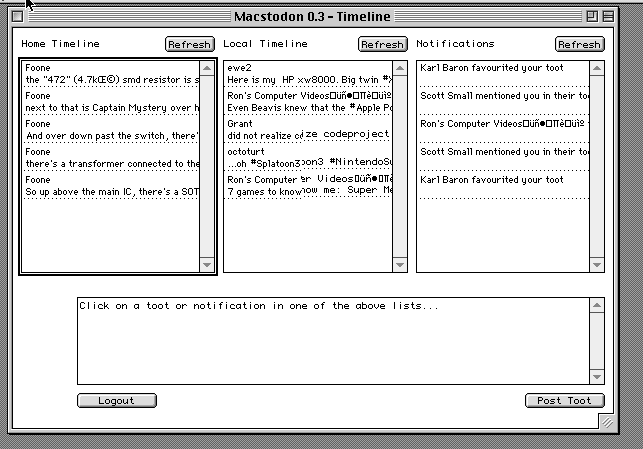
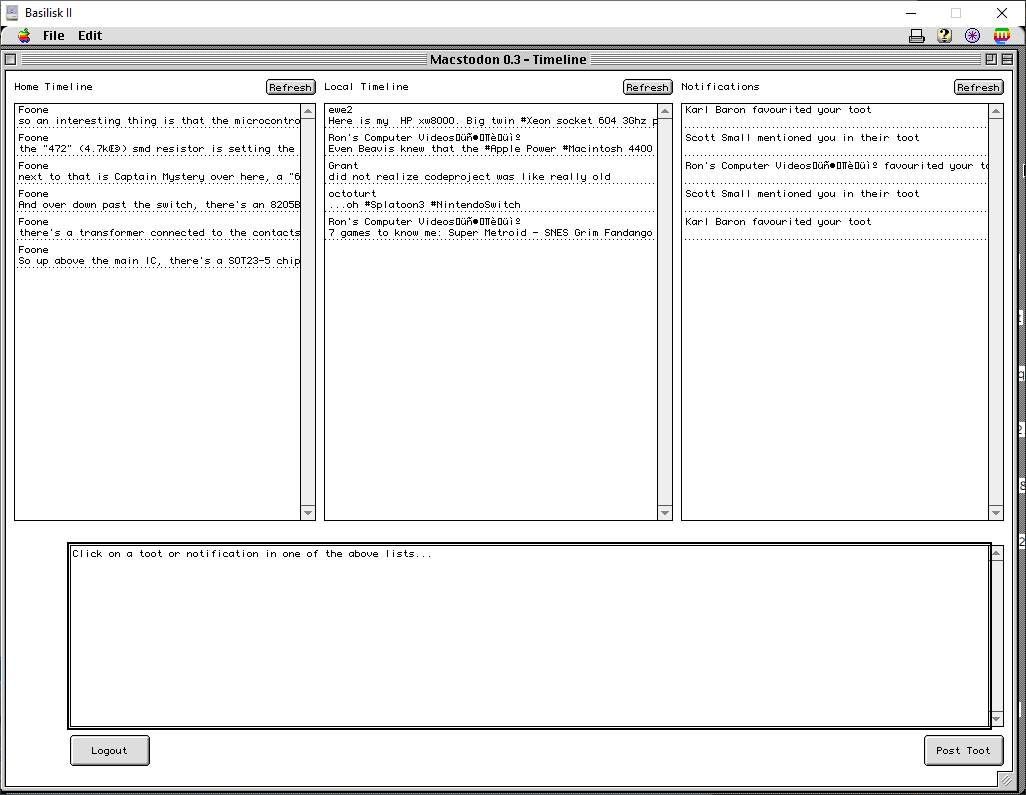
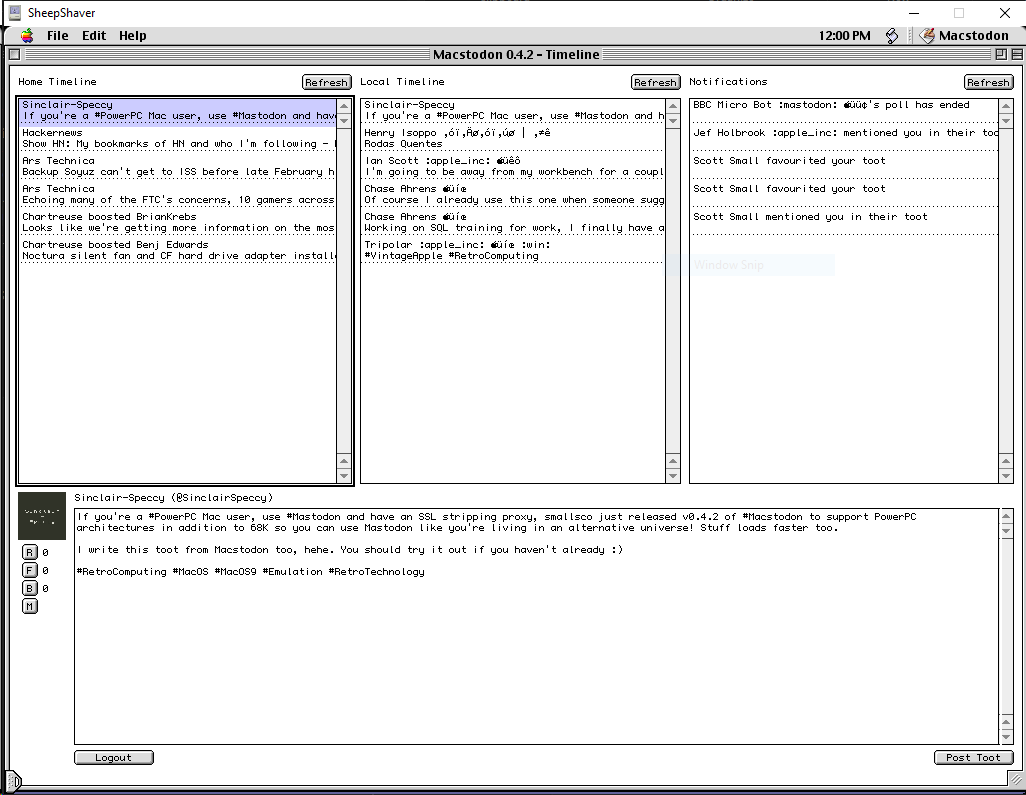
If it works, you should get something like this meaning
it has worked! The large box below each timeline is for
viewing toots better.
You can change the size of the window.
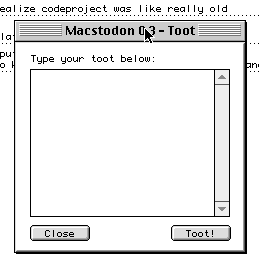
To post a toot click on post toot, type your message in
the new window tha appeared, then click toot.
If you look at your posted toot from a normal client, it
shows you posted it from Macstodon.
If you ever restart the machine and load Macstodon up
again, leave it some time to load everything as it will
look like it has hung, but it has not.
FAQ
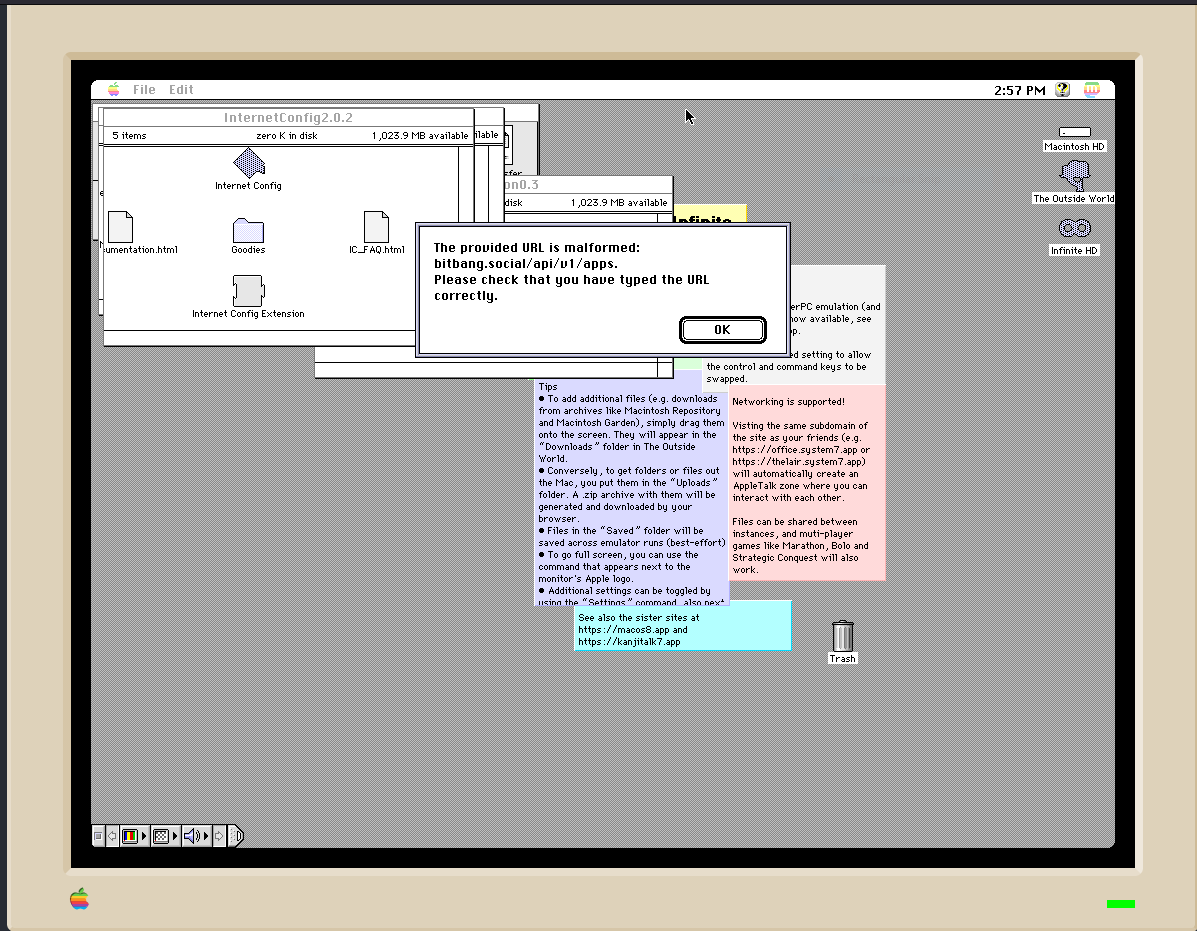
Does Macstodon work on places like system7.app?
Answer? No, it doesn't. It can't access servers on your
local network and you need to run an SSL-stripping proxy
like WebOne on another machine in order for Macstodon to
work. I have tried this and you will get this
error:
System7.app and such cannot get the IP you use for the
WebOne proxy.
Does Macstodon work PowerPC?
Answer? Yes! with version 0.4.3 you can run it on
PowerPC machines as it uses seperate 68K and PPC apps
instead of a Fat Binary. Installation process should be the
same as it is for the 68k version which is what this guide
uses.
Can I try this on Linux?
Answer? Yes! 75mhzMac made their own quick start guide
to this which can be found
here.