Making a Yggdrasil floppy disk image (and maybe some other distros)
Yggdrasil Linux, or Yggdrasil Linux/GNU/X, is a funny distro but you could also call it a revolutionary step in Linux history. Yggdrasil Computing, Incorporated was the first company to create a live CD Linux distribution which lead to Debian and many others making live CDs for their distros. Yggdrasil Linux described itself as a Plug-and-Play Linux distribution, automatically configuring itself for the hardware.
Pretty cool, right? There is a Wikipedia article on it if you ever wish to read more but this guide isn't to tell you about Yggdrasil, it is about making a bootable floppy disk to run Yggdrasil from the CD drive since unlike modern distros, it can't manually run from the CD drive without support.
This guide doesn't run over on how to install Yggdrasil as that is for my review on the OS itself or maybe another guide.
-----------------------------------------------------------------------------------------------------------------------
1. Checking that everything is set-up before starting
Before getting into making the floppy, you should check if 86box is set up to make sure it has specific settings correct for the machine we will be emulating. The settings I have used for 86box are below
Machine
The machine type should be set to Socket 7 (Dual Voltage).
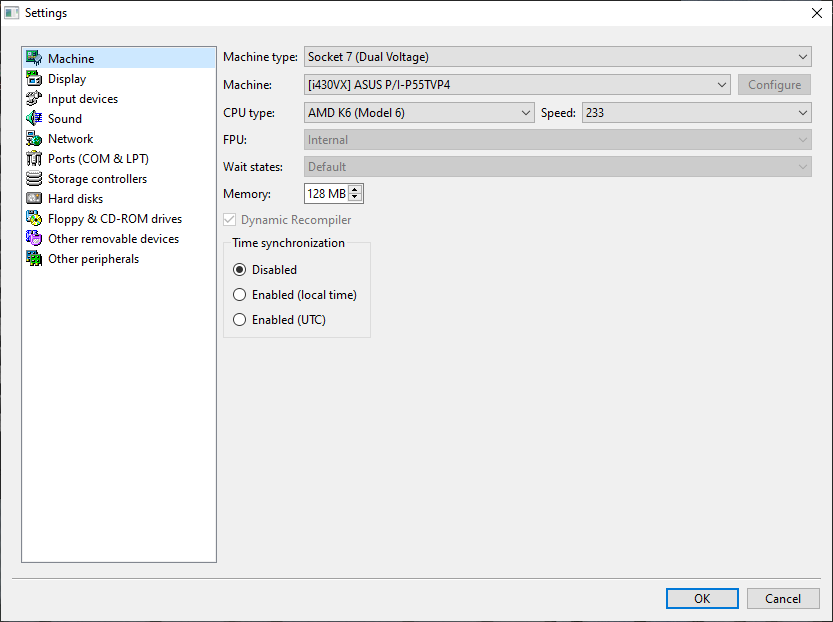
Along with this, you should have as your machine set as the Asus P/-PI65UP5 (C-P55T2D). For the CPU model set it to AMD K6 (Model 6) with the speed set to 233.
Max out the memory to 128MB and disable time synchronization.
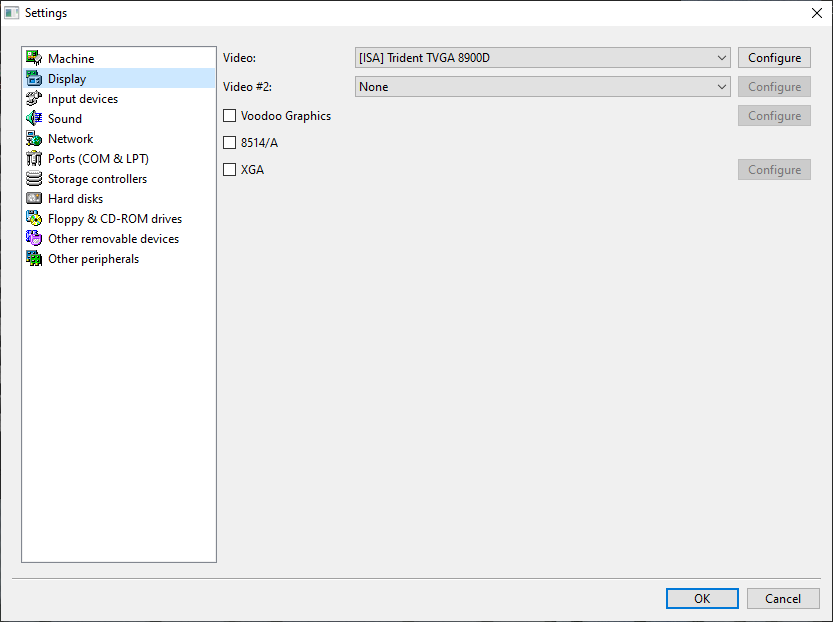
Display
The video card we will use for this emulation is the Trident TVGA 8900D. The other settings such as XGA are not required.
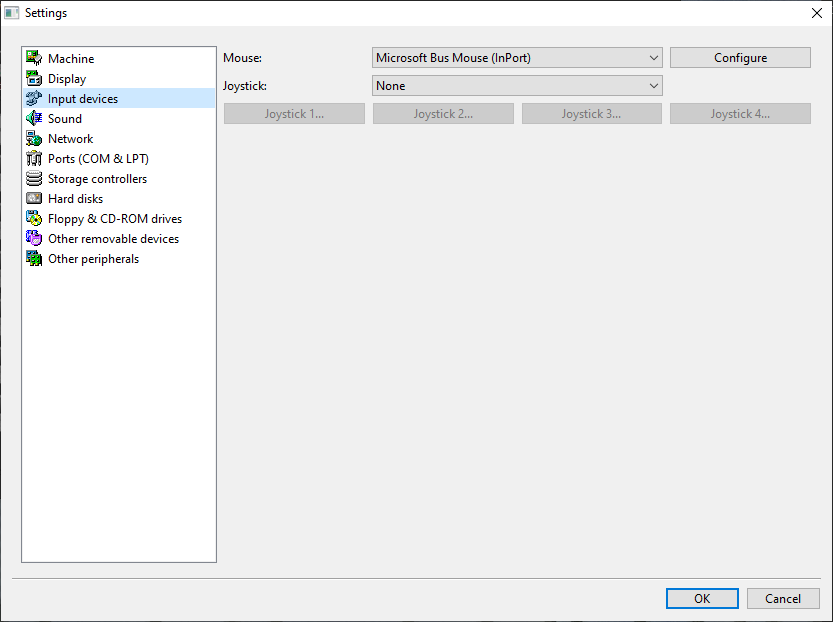
Input devices
For the input device, aka the mouse, use the Microsoft Bus Mouse (InPort) as it isn't broken as the others.
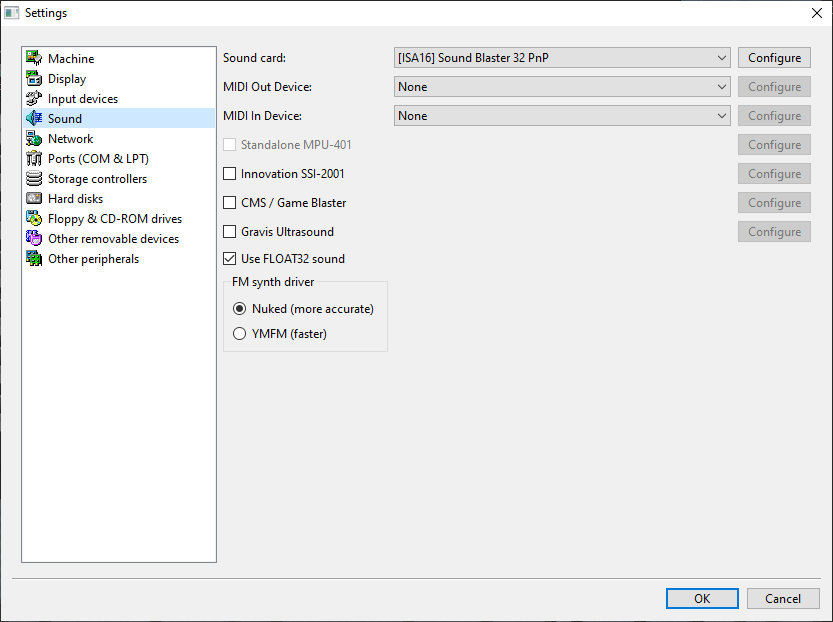
Sound
For the sound card, use Sound Blaster AWE32 PnP. Although sound is not really required I add a sound card every time I set up a emulator.
Network
We will not need to use this.
Ports (COM and LPT)
We will not need to use this.
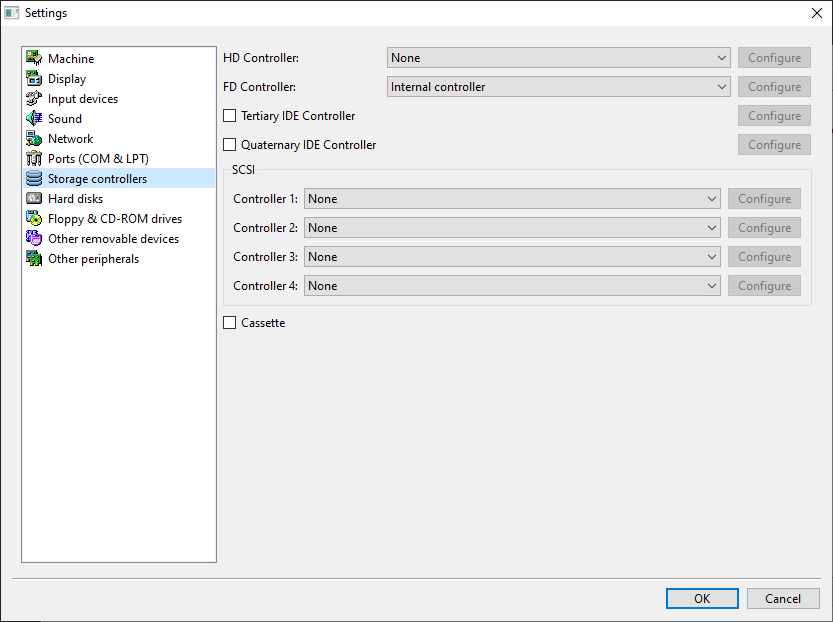
Storage conrtollers
If this is your first time using 86box, double check that the FD Controller is set to the internal cotroller
Hard disks
For me personally I make 560MB hard disks to install every package but you do not have to do this so you can do your own size if desired, but set the bus for the hard disk to IDE and ID to 0:0. The image format should be .img. Depending on the version of 86box you have it may ask for the hard disk speed. Just select max for it. If you do not have enough space you may choose to do a smaller size.
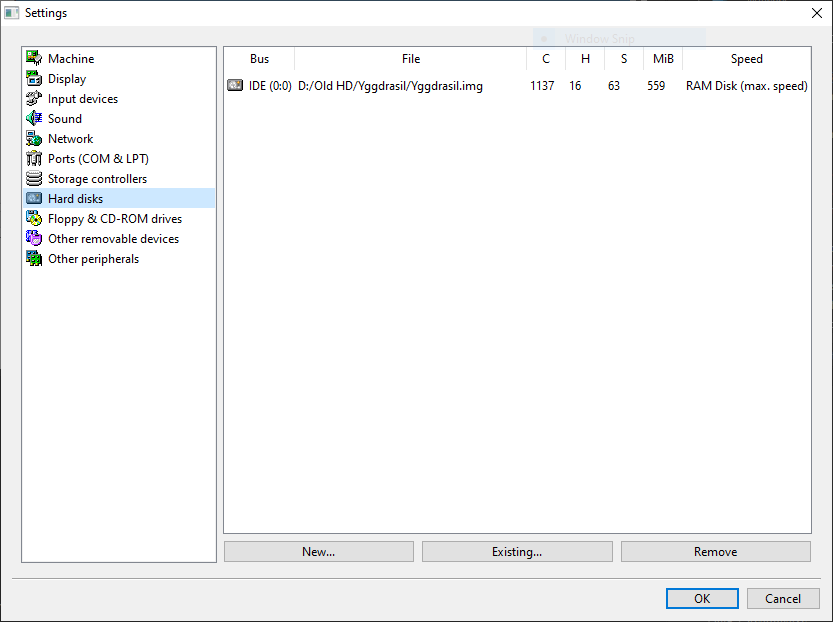
The file location should be set to where you saved it on your PC.
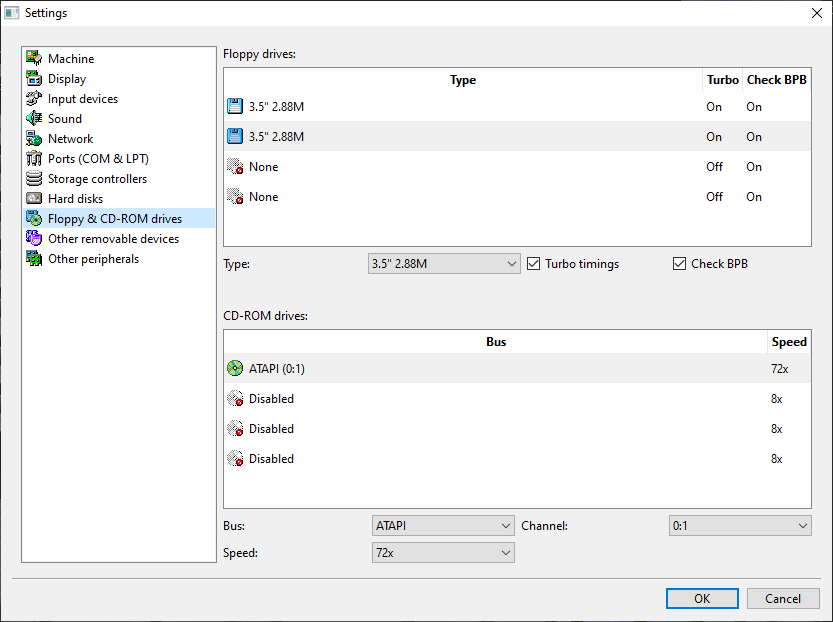
Floppy and CD-ROM drives
For the floppy we will need 1 3.5” 2.88M floppy drive with turbo enabled and check BPB enabled. I usually do 2 3.5” 2.88M floppy drives. You can select the floppy type from clicking on type and it will be at the bottom.
For the CD-ROM drive, you'll need One ATAPI CD-ROM drive set to channel 0:1 with 72x speed.
Double check everything is right and press OK at the bottom. You will be asked if you want to save the settings, doing so will reset the emulated machine. Click on save and the machine will restart.
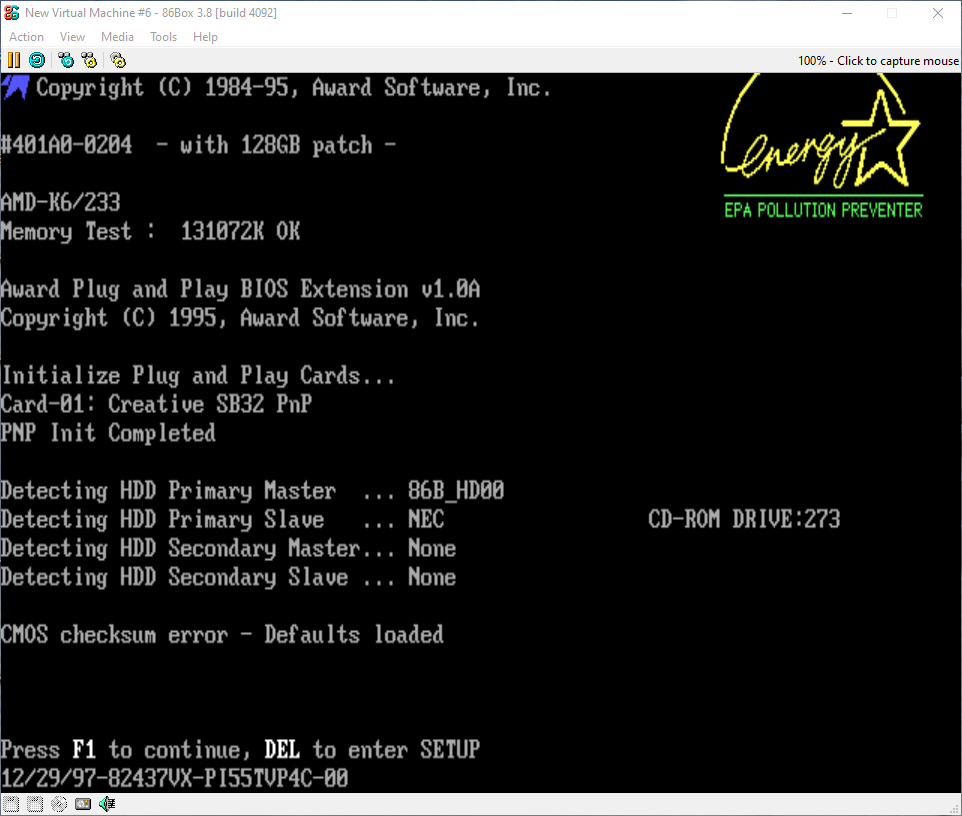
2. Booting the machine
As the machine boots you will notice that when it is detecting hardware, the HDD primary master should say something along the lines of 86B_HD00 and the HDD primary slave should be none if you have forgotten to add the CD-ROM when setting up. If the CD-ROM was added correct you should get something like this:
If you let the machine boot for the first time by continuing with pressing f1, you may notice a screen that says “DISK BOOT FAILURE, INSERT SYSTEM DISK AND PRESS ENTER” along with some other info:

We need to fix the BIOS so restart the emulated machine by going to a little icon at the top of the emulator that looks like a blue arrow going in a circle next to the pause button and click it. You will be asked if you want to hard reset the emulated machine, just press reset and it should restart.
When it starts again with checking the memory and hardware, press the delete key quickly to access the BIOS. The BIOS should show how to navigate so use the arrow keys to go to the IDE HDD AUTO DETECTION section.
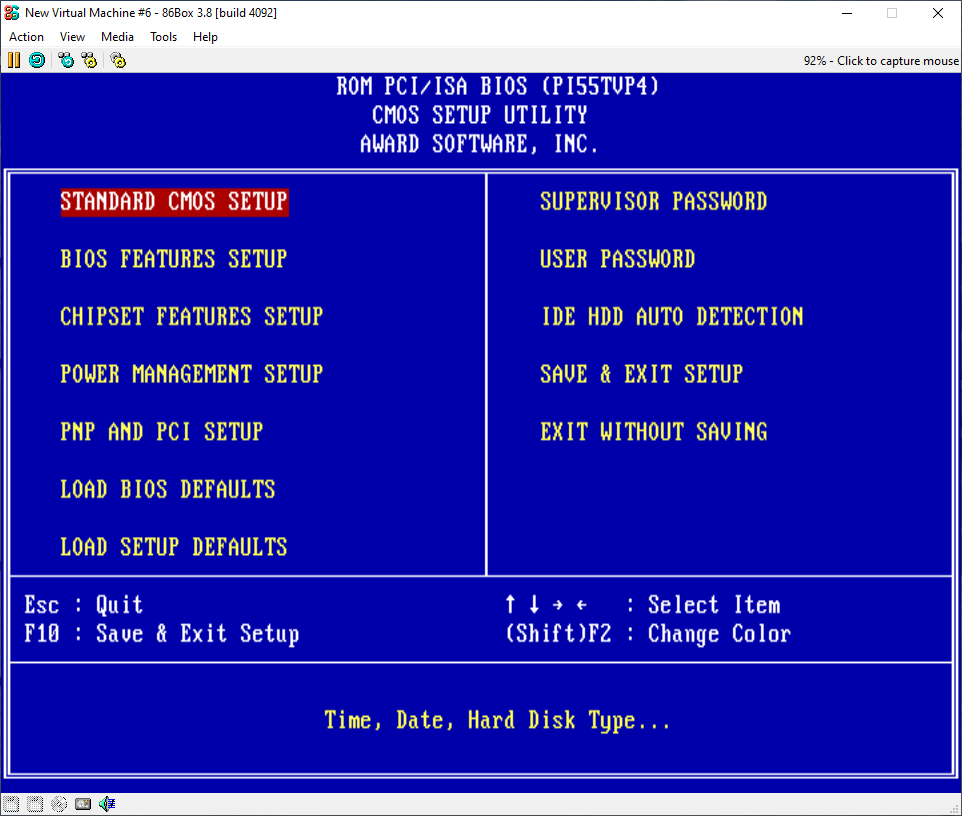
Press enter and you will be at a rather confusing screen so if you are new to this, do not freak out at this as you will get used to it once you do it enough times.
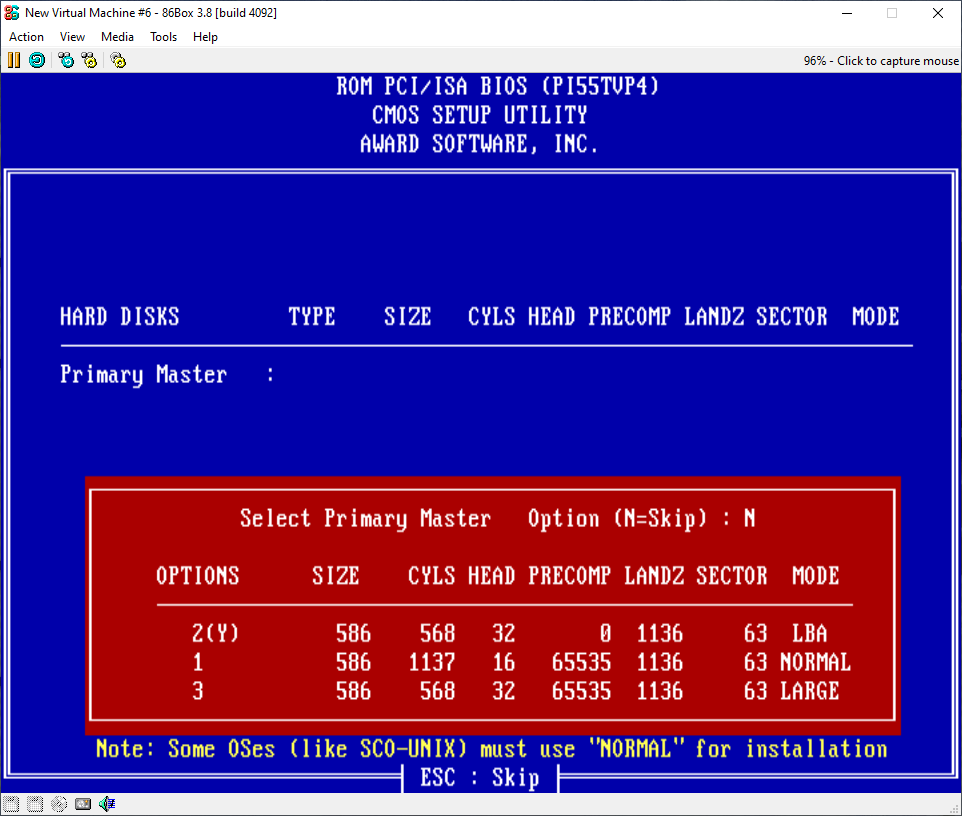
It is first asking for you to select the primary master disk and sin the setup we selected IDE for the hard disk, it will be automatically detected.
Press 1 which will select the “normal” mode then press enter. The screen will now show some things, and this should be what you selected before. For the others, just press esc as it is set to no by default. You will be now out of the hard disk setup screen and back to the BIOS as before.
Now go to the STANDARD CMOS SETUP to set up the floppy drives.
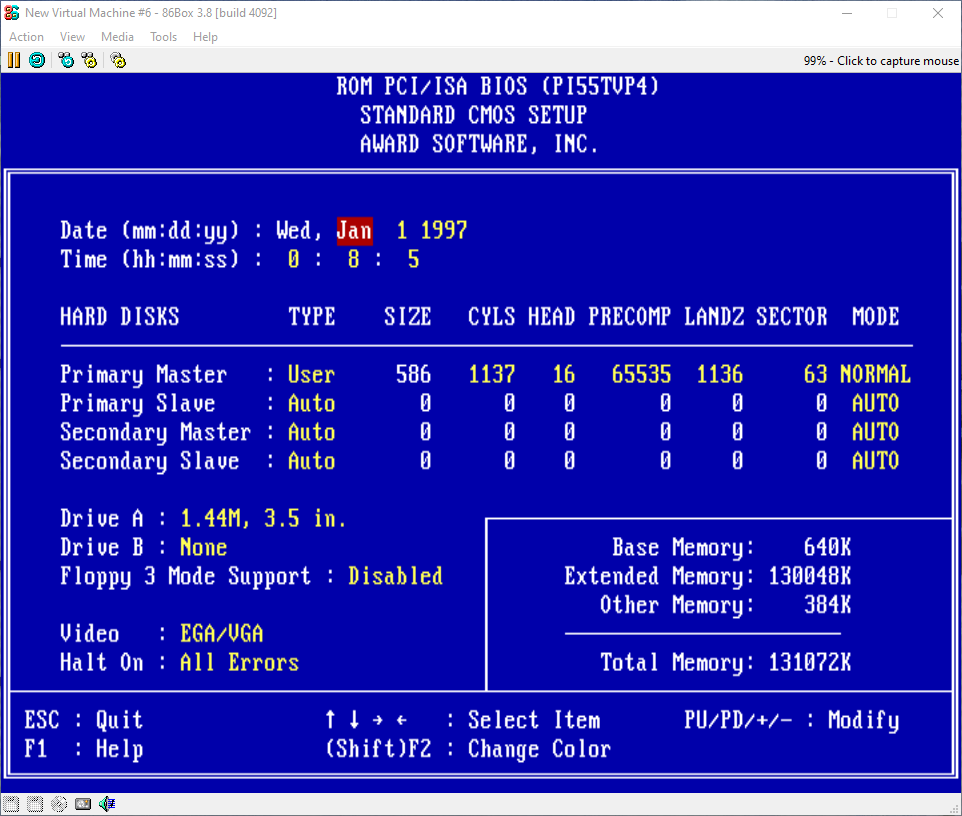
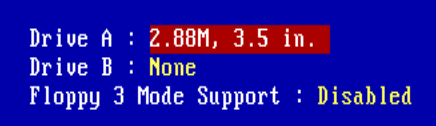
At this screen it should show the primary master hard disk we configured just before and now we just need to do the floppy disks. Use the arrow keys to make your way down to “Drive A” and use the page up or page down button until “Drive A” is set to 2.88M, 3.5 in.
Press the esc key to leave this screen. Everything should be set up and ready to go now. Go to SAVE and EXIT SETUP, put in y and press enter.
From this point, if you let the machine boot after detecting hardware and such, you should have a screen that has a lot of stuff on it explaining the system configuration showing the display type and all. This was shown before you get the boot disk failure error. It should also show the primary master disk and primary slave disk so if you missed it when it was checking hardware that is okay as it will appear again but look different with the primary master disk being something along the lines of CHS,Mode4,586MB and the primary slave disk being CDROM,Mode 4. It will also show the PCI device listing which simply just shows other stuff about the hard disk.
You may notice that you still have “DISK BOOT FAILURE, INSERT SYSTEM DISK AND PRESS ENTER” on your screen still. This is normal if the hard disk has nothing installed on it as that is when we install MS-DOS.
3: Installing MS-DOS and the CD-ROM driver
Before we can even do much after the machine has booted, we will need to install MS-DOS 6.22 along with a CD-ROM driver so the machine can read the CD-ROM. You can grab a copy of MS-DOS 6.22 from WinWorld. I recommend using ‘Microsoft MS-DOS 6.22 Plus Enhanced Tools' as 1, it has the most downloads and 2, it works the best for me.
Downloading it will give you a .7z archive so you can either use 7zip to open it or extract.me which is a site I use to unpack 7z files when I am not at a computer with 7zip installed. Extract.me just extracts the archive and puts it into a zip file that Windows can open, unlike a .7z file that needs 7zip to open. If using extract.me, use Windows to extract the folder to a place on your computer when it makes it a zip file to extract it. The same can be said for 7zip when extracting it.
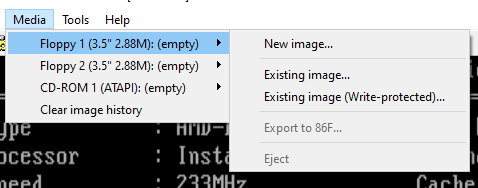
In 86box, you can load .img files in two separate ways:
Using the little floppy icons at the bottom of 86box which will be greyed out when nothing is in it
Or by going to top and clicking on media, hovering over floppy 1 and clicking on existing image.
We will be using the first way mentioned so select disk1.img from the MS-DOS folder and you should see the floppy icon at the bottom be coloured. Hover over it to make sure you have selected the right one which should be labelled disk1 and then press enter.
The emulator screen will go black for a moment before showing “Starting MS-DOS” and then going to the beginning of the installation.
You should be greeted with a blue screen that welcomes you to the set-up. If you are new to MS-DOS, you should read the text on the welcome screen before proceeding.
Pressing enter will take us to the next few parts of the set up.
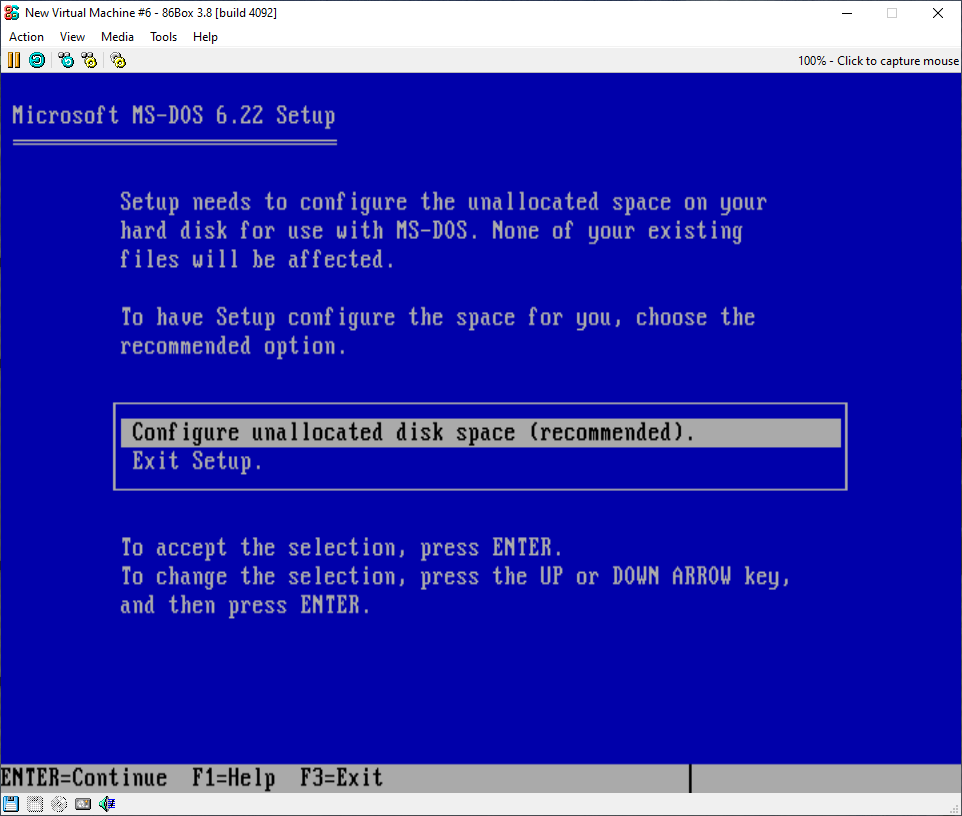
After the welcome screen, the setup needs to configure the unallocated space on the hard disk. Just hit enter and it will explain it needs to restart the computer. Do not remove the floppy from the drive and continue again by pressing enter. The machine will go through the same usual process from before going back to the set up.
Sometimes you may get an error that tells you to press A to reboot when the machine restarts to configure the disk space. Just go back to the bios, head to BIOS FEATURES SETUP and change the boot sequence to A,CDROM,C and save the settings, exiting the bios and restarting the machine again.
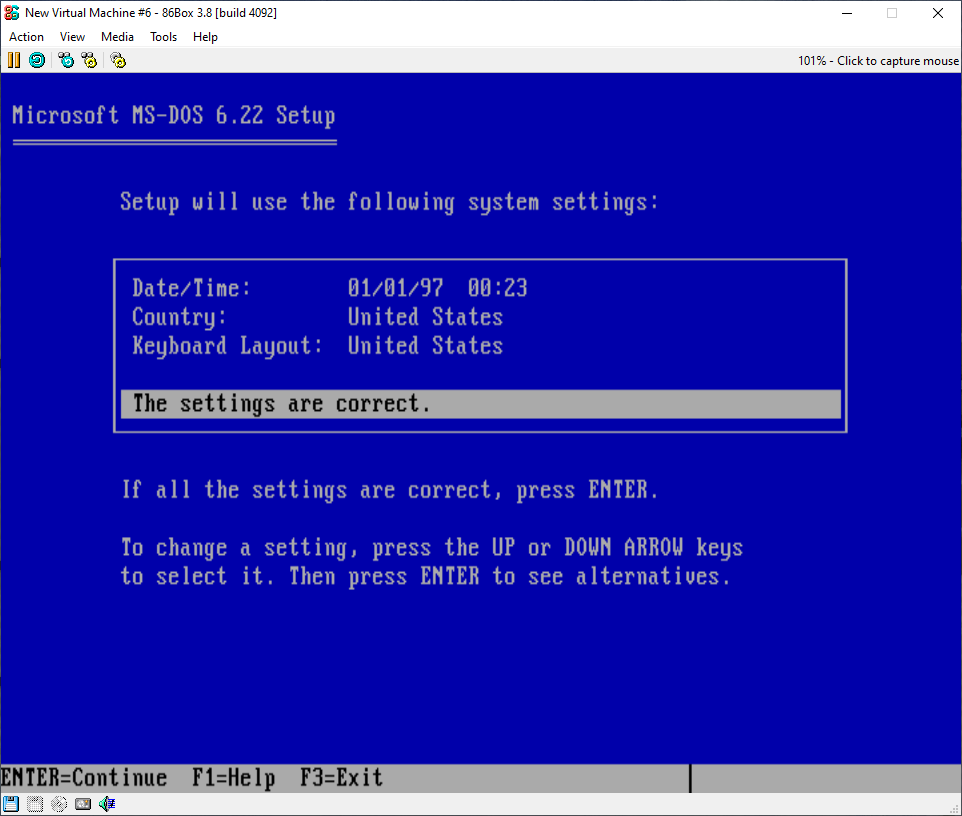
Back at the install, it explains that it will use certain system settings however just ignore this and continue.
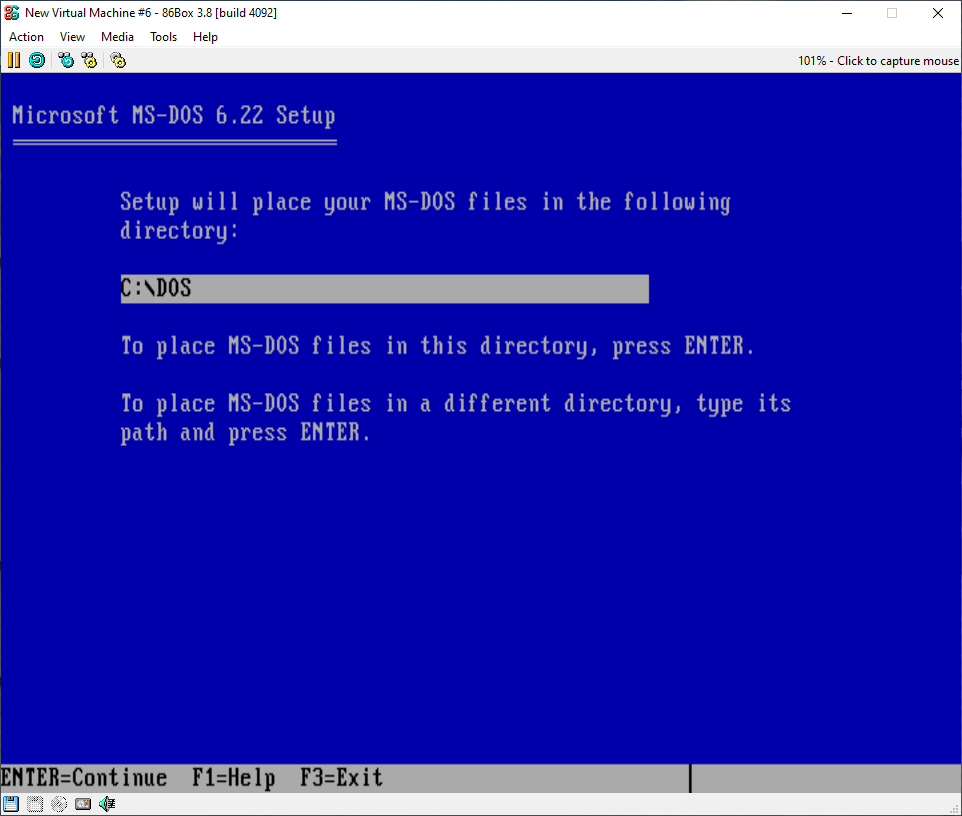
Next, it says where it will install the MS-DOS files and here, I just go with the default directory.
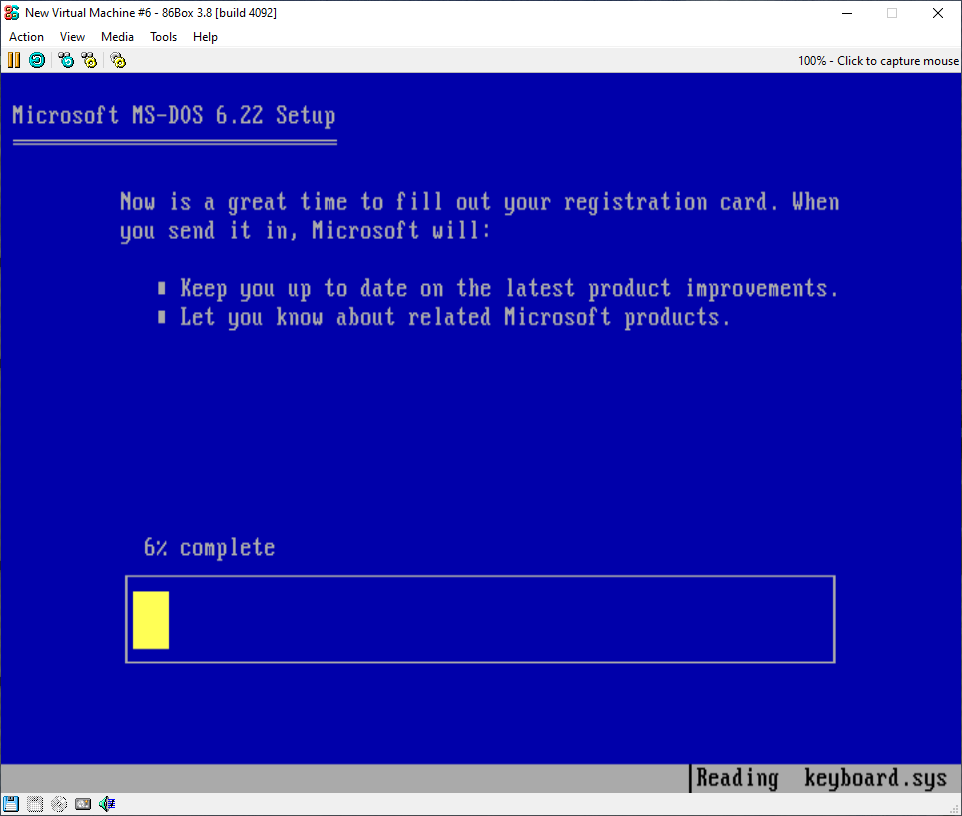
Once you have selected the directory you want to use just go on and it will begin to install. Since we set the CPU speed to the max the installation should be quicker than using the default speed.
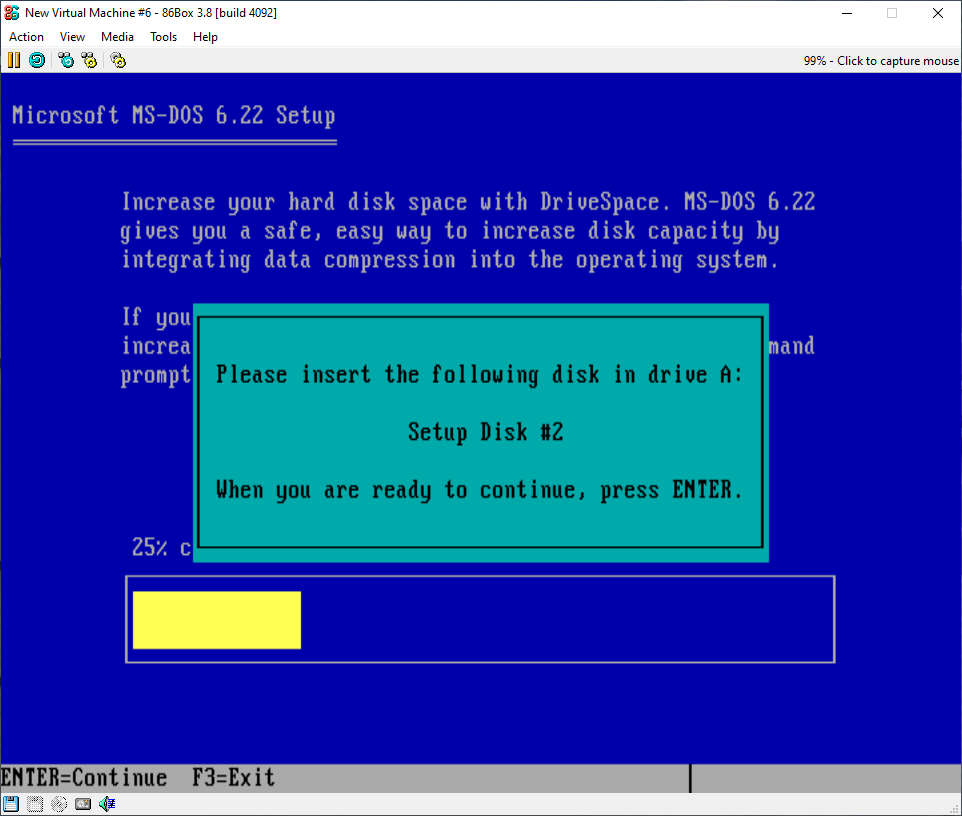
During the installation it will ask for the other two setup disks. Just do the same process that was used when putting the floppy disk for the first time and press enter for both when prompted
Once the installation has completed you must remove all floppies from the drives which can done by going to the floppy icon, clicking on it, and pressing eject. MS-DOS 6.22 will now be installed on your computer, and you can restart the machine by pressing enter or manually doing it by heading over to the reset button at the top we used when setting up.
Now the CD-ROM driver. You can grab one from the internet archive from here. Once downloaded, head back to 86box and load the floppy to install the drivers into the emulated machine.

An effective way to see the contents of a floppy is by typing “dir | more”.
Since this may be your first time using MS-DOS, this is a good command to know. To install the driver type install.exe, press enter, make sure the installed directory is “C:\CDROM” and press enter again. It should say it completed installed when finished and go back to the A drive.
Just press enter, remove the floppy (if you do not you will get some weird display errors, but it is kind of cool) and restart the machine as we need to see if it was installed correctly.
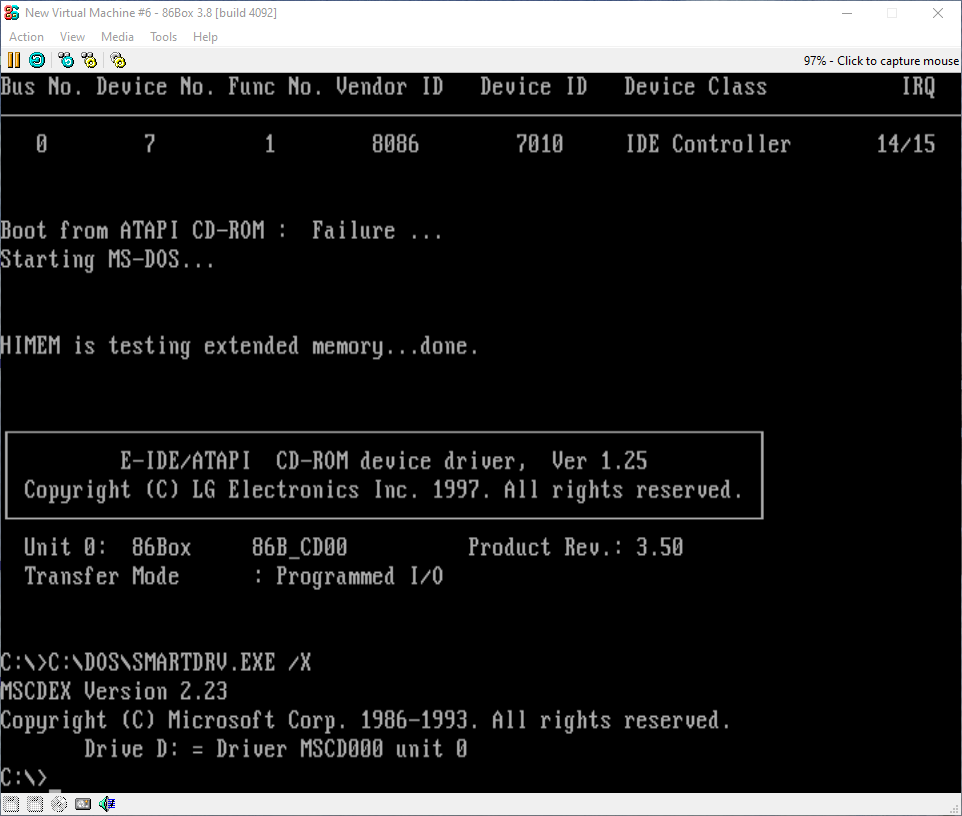
When MS-DOS boots it should come up with a screen saying things about a CD-ROM device driver. It will also show the drive for the optical drive which is usually D:
4: Making the Yggdrasil boot floppy
Now with the MS-DOS and CD-ROM driver installation out of the way, the next part is to create a boot floppy for Yggdrasil Linux. Yggdrasil Linux is not like most modern Linux distros we have today where it automatically boots from say a CD/DVD or USB but instead it requires a boot floppy to boot. You may have to look around for a blank 2.88MB 3.5in floppy but once you find onem ut the blank floppy into the first floppy drive and the Yggdrasil CD-ROM into the D: drive.
Loading an iso image (optical disc image) is the same as we did for the floppy images but instead, click on the little CD next to the floppy, click “image” and find the Yggdrasil CD-ROM we are using for this guide which should be named “yggdrasil-fall95revb-disk1.iso”.
Type D:, press enter to access the driver where the CD-ROM is and type “dir | more” to see the contents of the floppy. I would recommend having something like notepad open as we will need to take note of two files on the CD-ROM. The two files you will need remember are “BOOTFLOP.3IN” and “RAWRITE.EXE”. If you are curious, BOOTFLOP.3IN is basically just the boot floppy image for 3.5” floppies and RAWRITE is the program we will use to write BOOTFLOP.3IN to the floppy. Press enter until you are back at the D:\> prompt.
Now, to make the floppy itself. Type RAWRITE.EXE into MS-DOS and type BOOTFLOP.3IN as the source file when asked, then type A: for the destination drive if that is where you inserted the blank floppy image, press enter again and when prompted, press enter. You should see RAWRITE doing some funky things as in writing the image to the floppy.
It should say done when it is completed. You can check that the image was written to the floppy by going back to the A drive and using dir | more to see the contents. Now you have a Yggdrasil Linux boot floopy which can be used for running Yggdrasil from the CD-ROM. When you do run Yggdrasil you will also need to have the Yggdrasil CD-ROM in the emulator.